
|
Main /
SvnxUnder Mac OS X, an alternative to using the svn command line is to use svnX Install
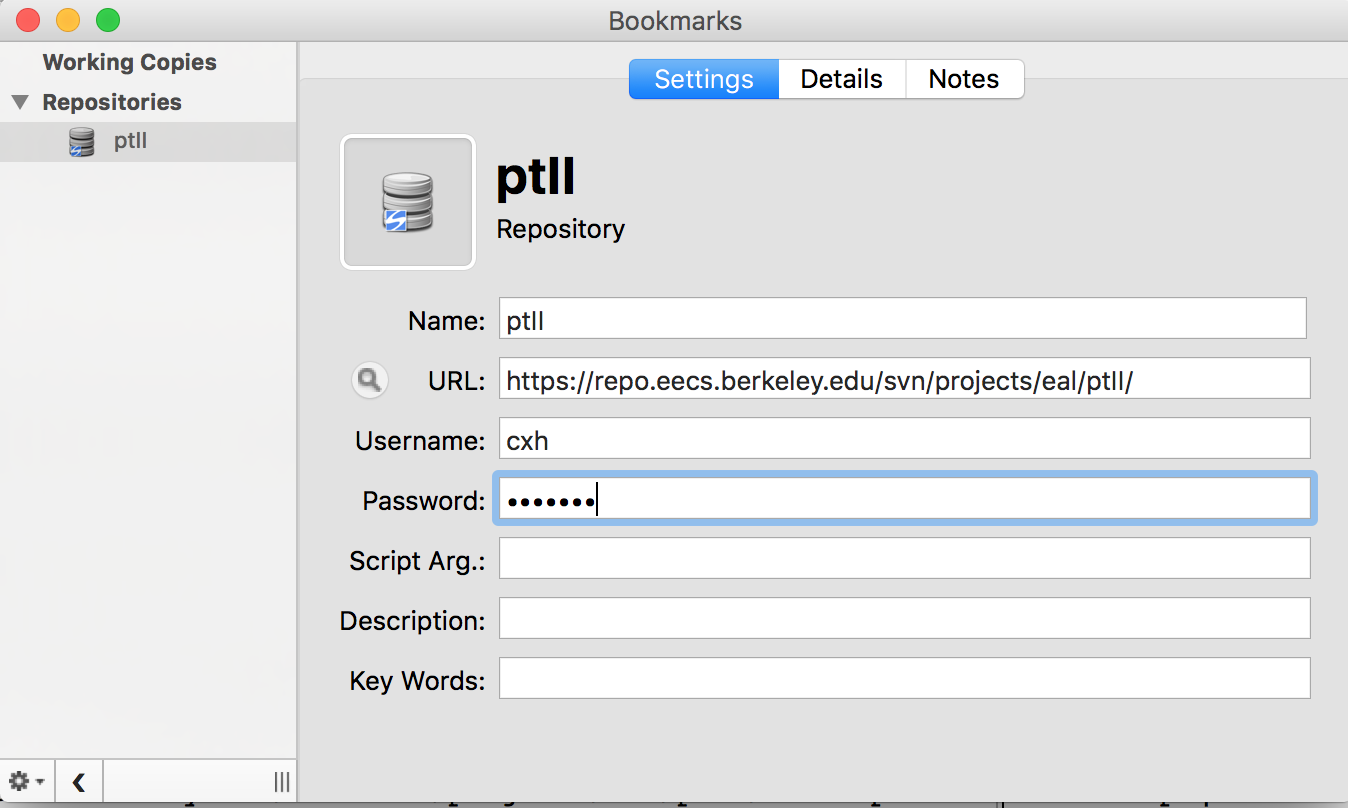
Set up the Repository1. Start up SvnX, which should bring up the Booksmarks window 2. In SvnX, create a new Repo by clicking on the small gear in the bottom left and selecting Add Repository 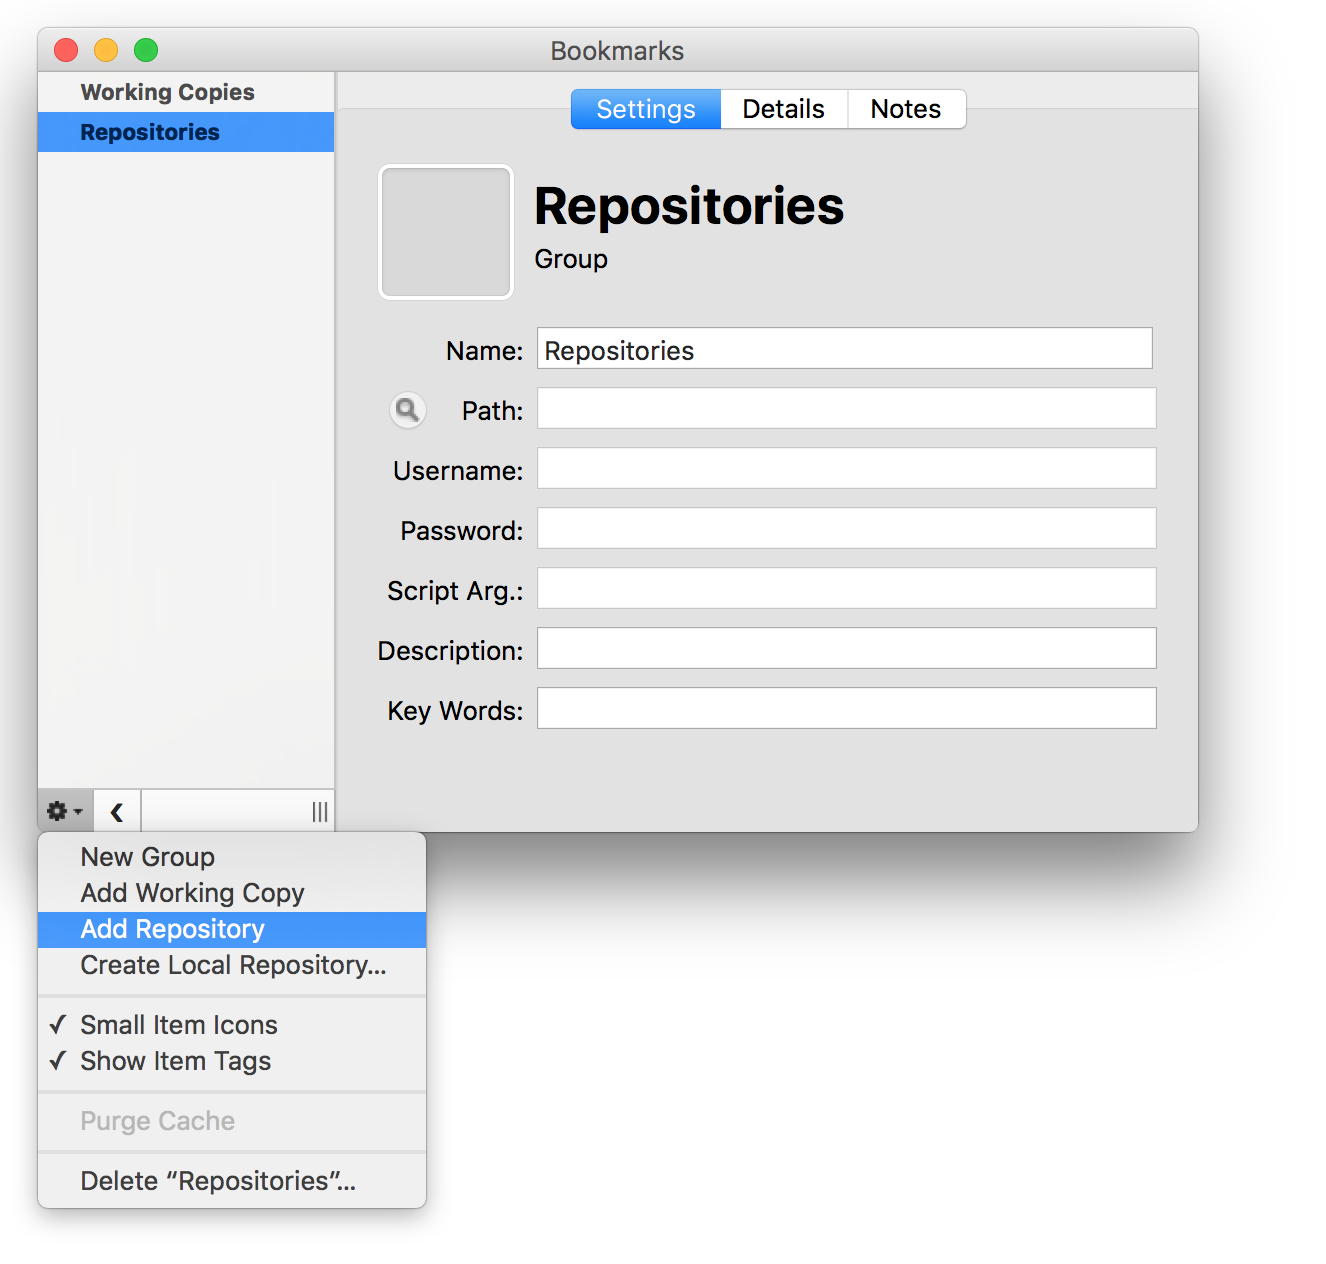 3. In the SvnX Repository Window, click on the
 The first time a repository host is accessed, you might get an error about "Certificate Verification Failed": 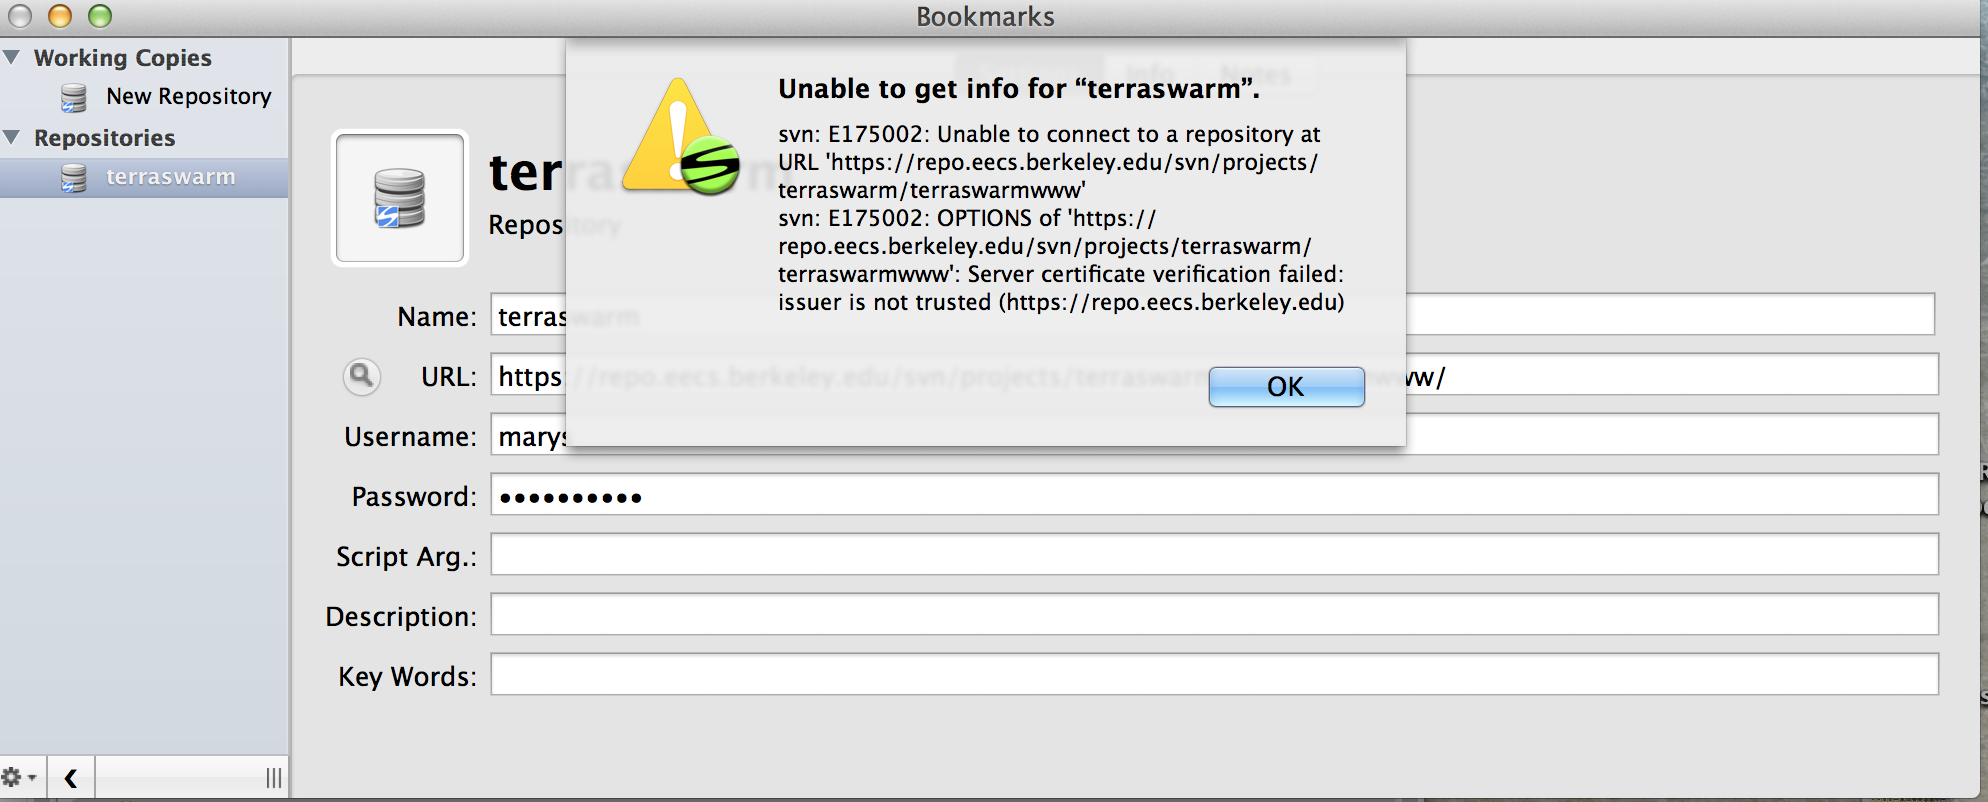 The solution is to start up the Terminal (Applications -> Utilities -> Terminal) and then run the command by hand a permanently accept the certificate. 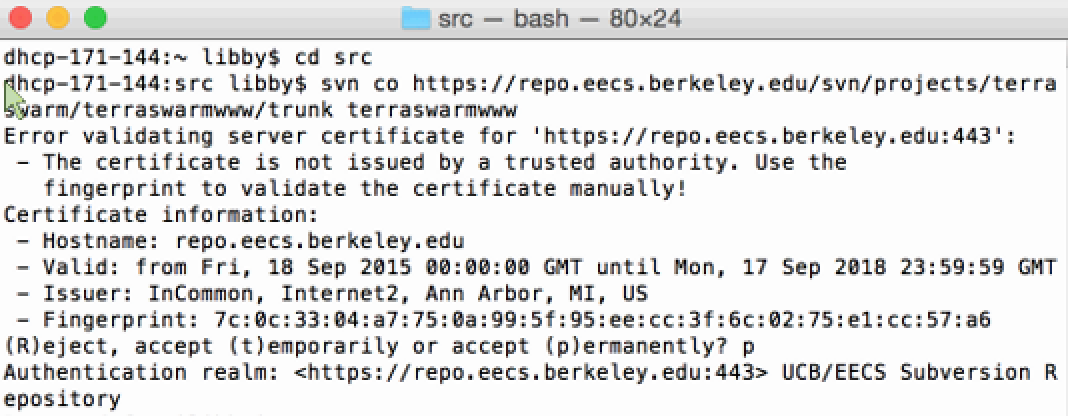 The command to run is (Admins, see Subversion -> svn Certificate is not Issued by a Trusted Authority for details.) If you get an error about "unable to connect"check to make sure you are using the correct login and password. For EECS at UC Berkeley, this is your EECS account, not your desktop login, or CalNet credentials. 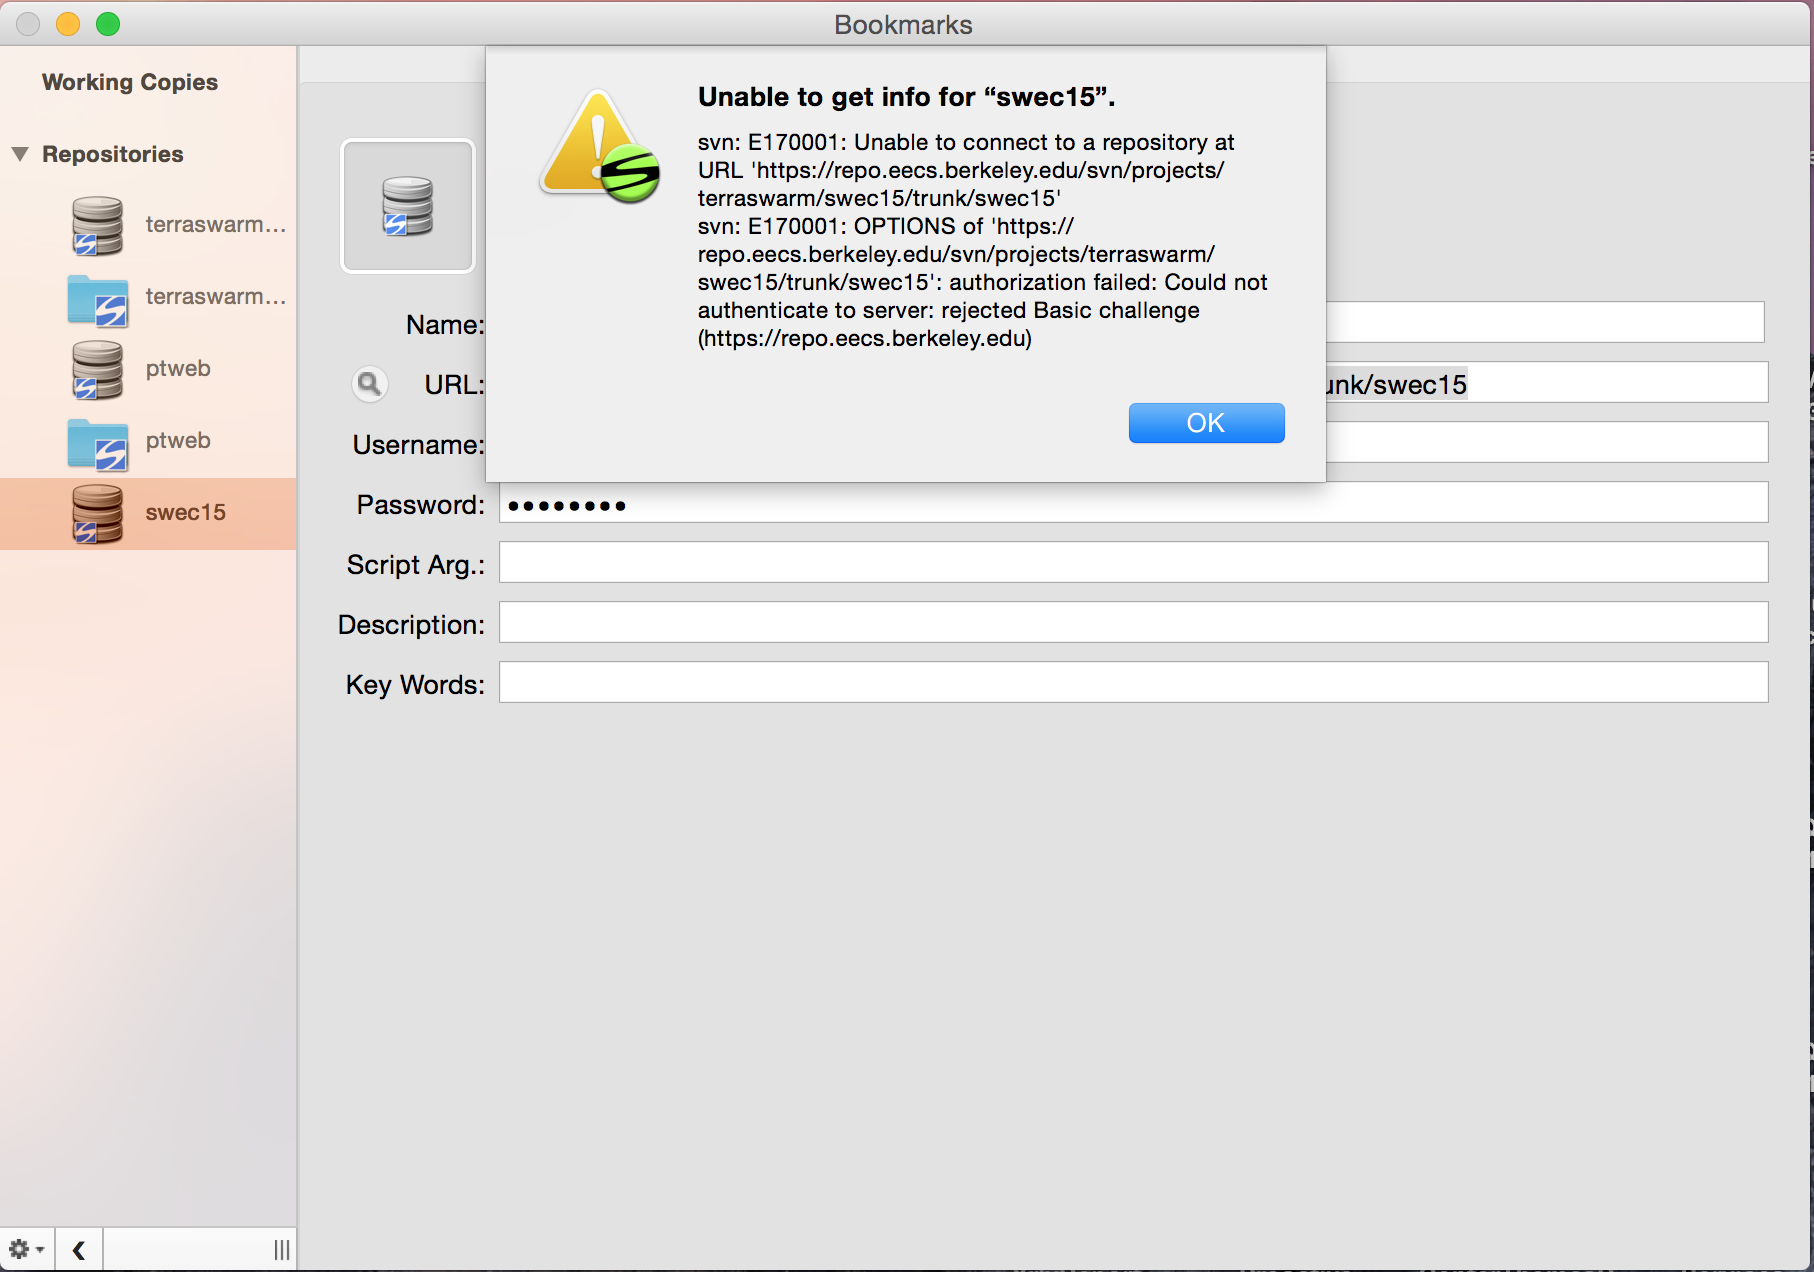 4. On the left, double click on the repository that was just created, this will bring up the Repository Window (see below), which will access the repository (it may take a few minutes). Then select the most recent revision by clicking on the small circle at the left of the first line. The bottom pane should now list the contents of the repository 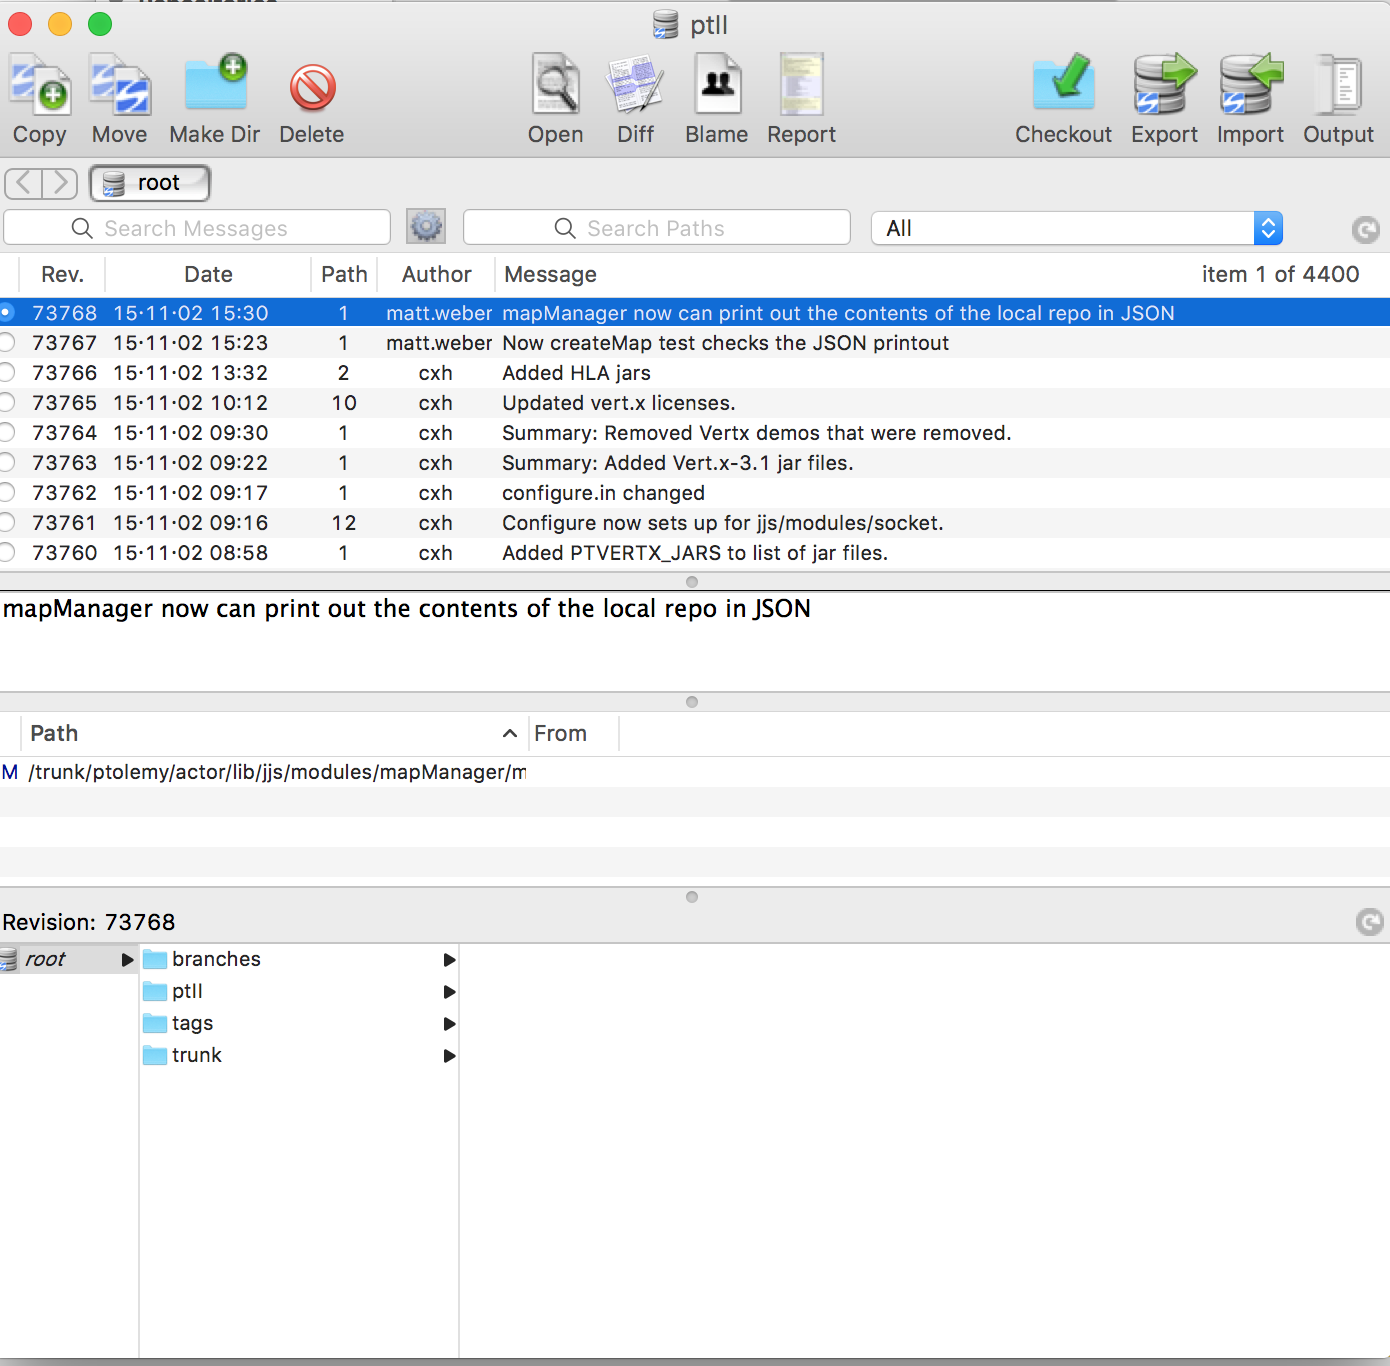 5. In the Repository pane at the bottom, click on the trunk, then click on the checkout button at the top. A file browser appears. Browse to the Documents folder, click on New Folder, create a folder with the same name and click Checkout. This checks a working copy of the tree and brings up a Working Copies window with the new repository. 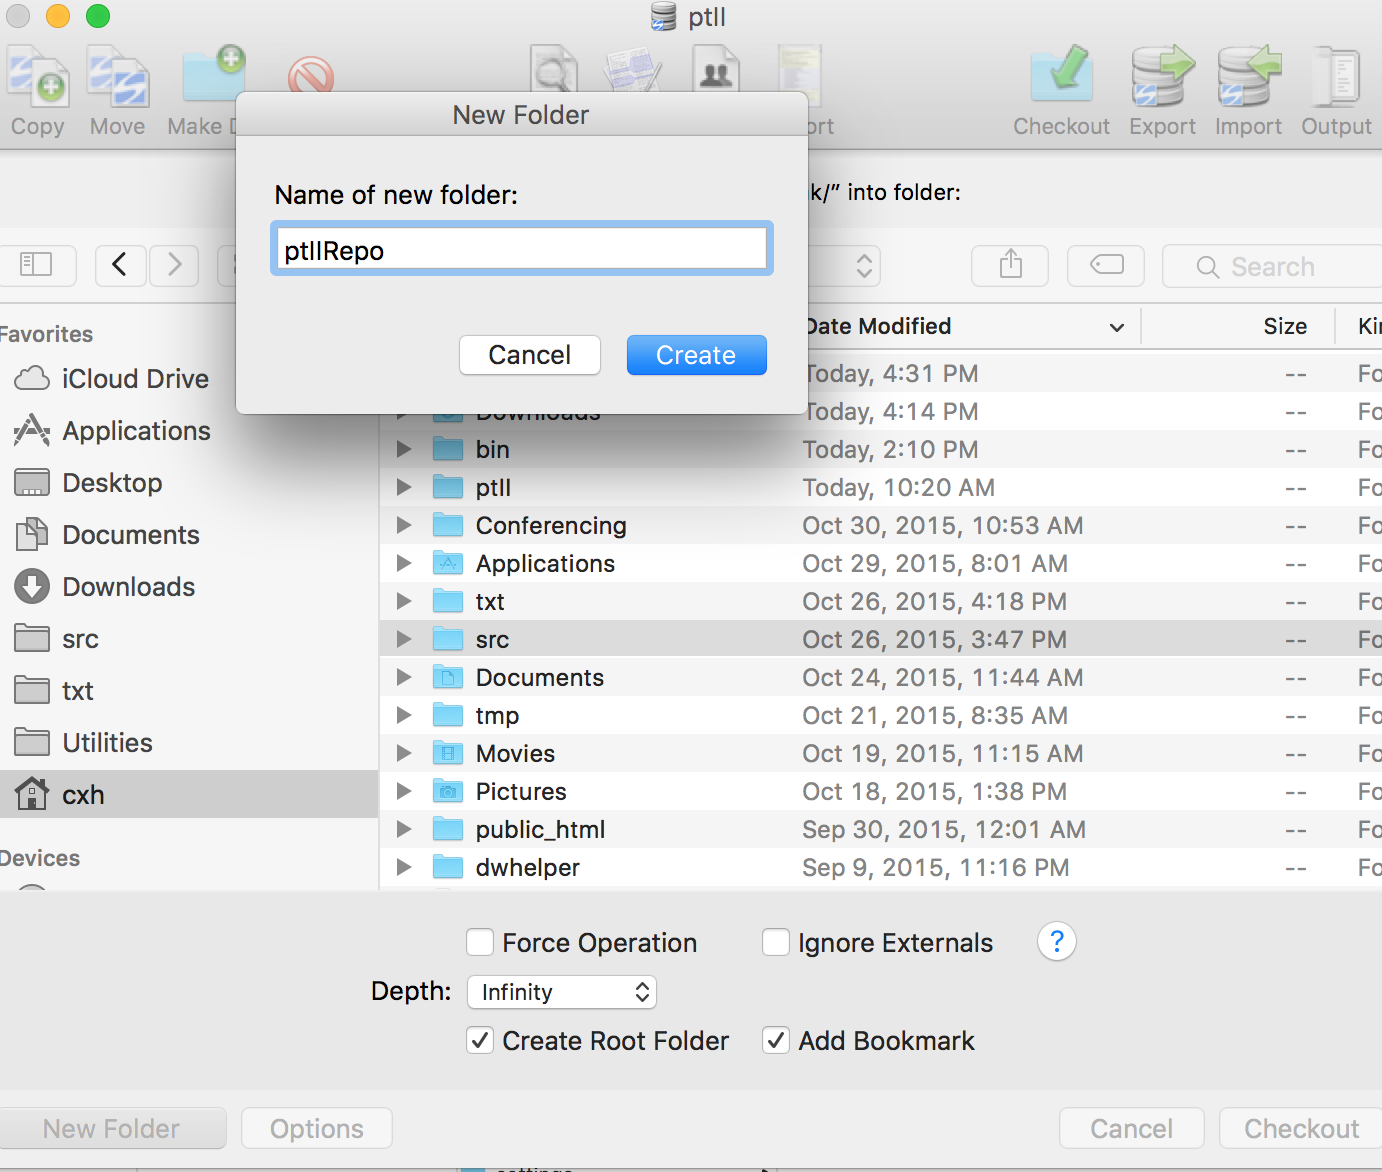 Creating the new folder 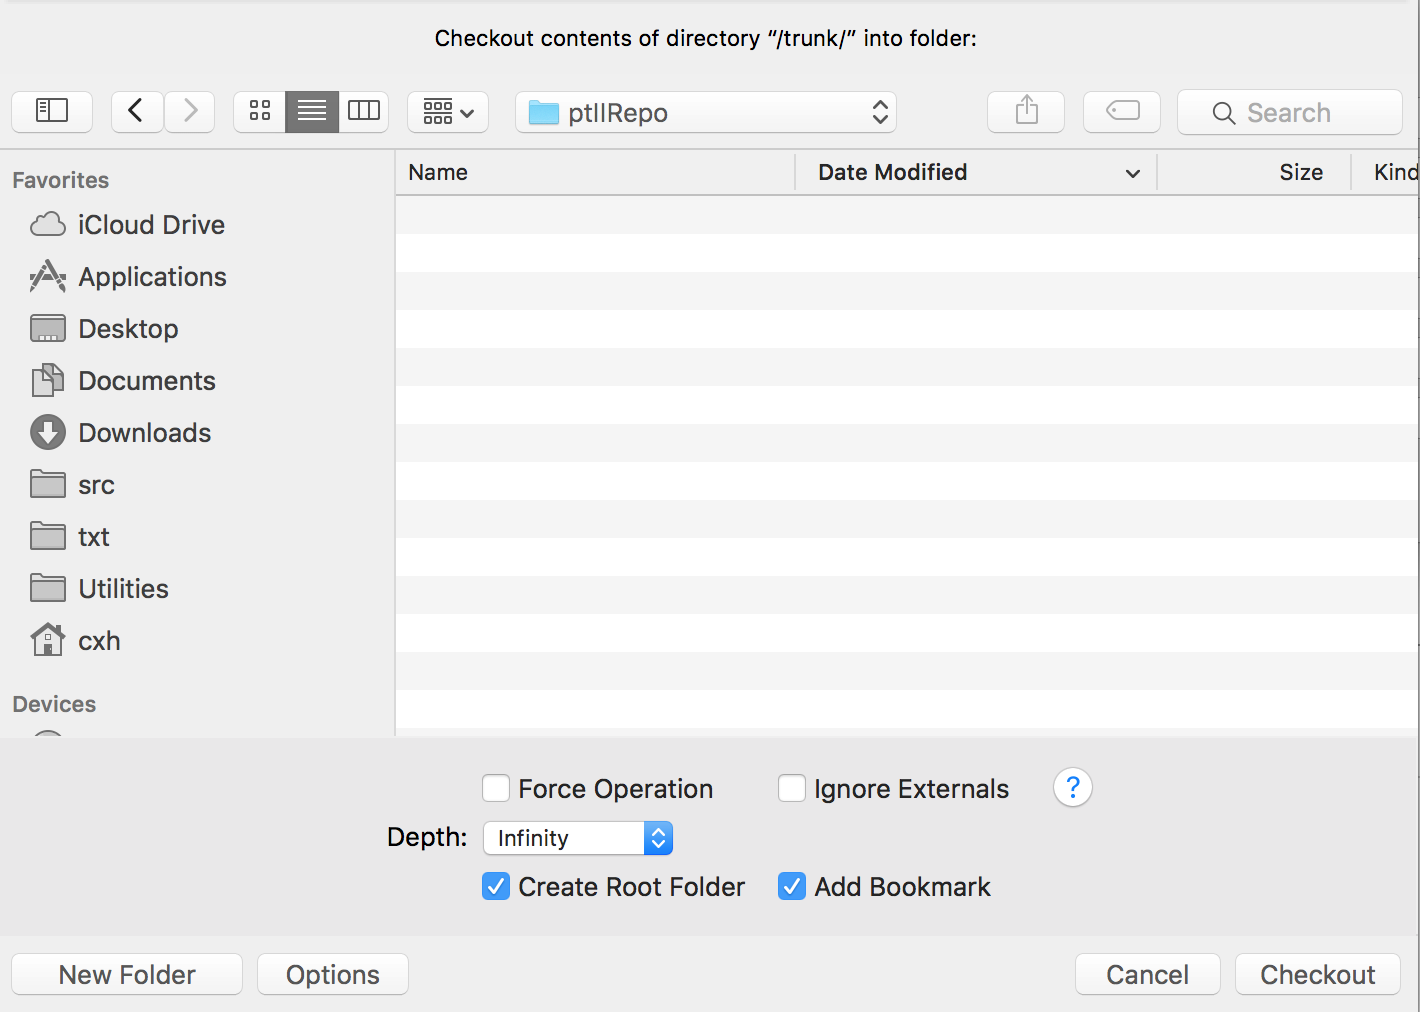 About to hit the Checkout button To see the output, click on the Output button in the upper right. A large repository make take a few minutes to download. 6. After the checkout is complete, in the Bookmarks Window, under Repositories, click on the trunk that was just checked out. 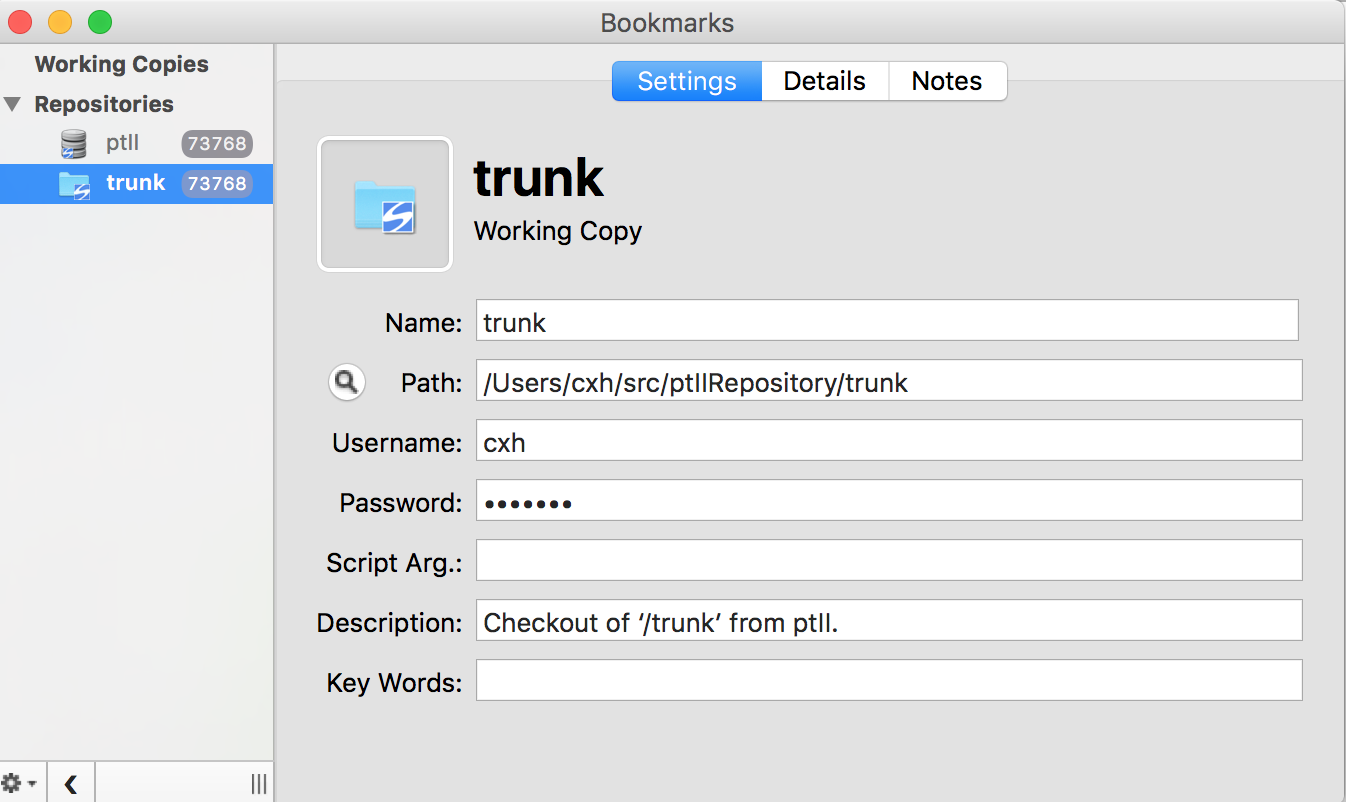 7. A browser for the working copy comes up. If necessary, click on the list icon below the close button in the upper left: 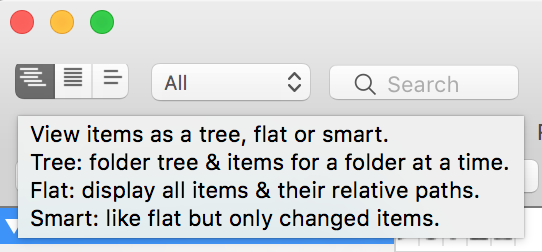 Click on the left most-menu above the View text. Here, the tooltip text is shown because we hovered over the icon. 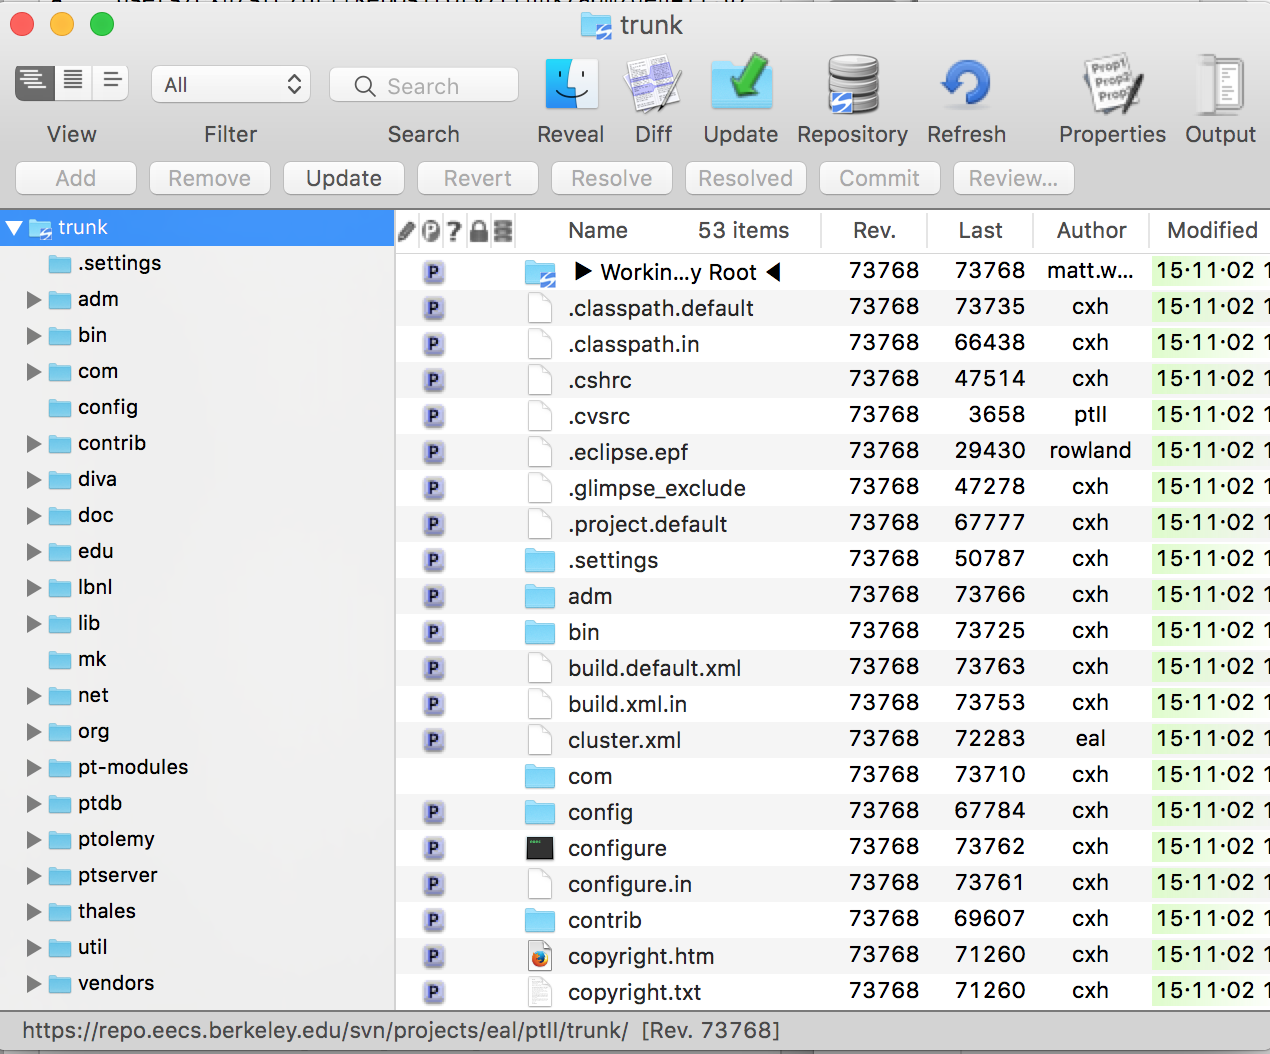 The working directory. 8. To edit a file, click on the blue bar to the left of the file name. If TextEdit renders the HTML instead of showing the HTML source, then in TextEdit, select Preferences, then the Open and Save Tab and check "Display HTML files as HTML code instead of formatted text" and then close the preferences window 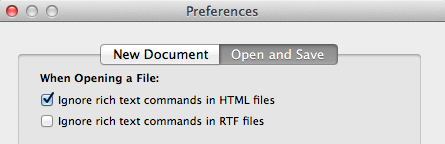 9. Make your changes, save the file, then in the svnX working directory window, highlight the file and click on the Commit icon at the top of the window. 10. If the repo is a website, then go to the website and update the website by clicking on the Update link at the bottom. Making changes after setting up.After doing the above set up steps, to make a change: 1. Start up svnX 2. Window -> Working Copies 3. Select your working copy by double clicking, the working copy window opens up 4. Important: Hit the update button to get any changes that someone else may have made in the interim 5. Then, edit your file and commit as above. |